


#HTML Tutorial for absolute beginners Lesson no(3) Install Git and create your first GitHub account Using #Linux


Before starting the process of setting up Git and creating your first Github account, let me give you a quick explanation of Git and Github.
What is Github?
GitHub is one of the leading hosting platform / website which help and enable you (developers) to
- Host / Store.
- Manage.
- Track.
- Collaborate with other developers.
- Check any changes you make to your code using another great tool called Git
So what is Git?
Git is an open source distributed version control system (VCS) designed to help you memorize, manage, track, control you our codes in GitHub, big or small, quickly and efficiently.
Besides, there are two ways to use Git:
- First way called GUI Git Applications GUI Git is a type of application that allows you to use the Git interface.
Git GUI Client Examples
-
Platform:Mac, Windows.
Price:Free
-
Platform:Mac, Windows, Linux.
Price:Free/ $29 / $49.
-
Platform:Mac, Windows, Linux.
Price:Free.
More examples available at git website
- The second method is called command line interface tool (CLI) connects you to a computer program or operating system and allows you to interact with a system or application by typing some text (commands) in your Terminal **. (And that's what we'll follow to install Git in your terminal).
What is the terminal?
Definition from techterms
Terminal usually refers to a terminal program, or emulator, which provides a text-based interface for typing commands. This type of program is often abbreviated "TTY" and may also be referred to as a command-line interface.
Terminal programs are available for all major computing platforms like:
Windows includes program called "cmd.exe" which based to run DOS Commands.
Mac includes a program appropriately called "Terminal," which can be used to run Unix commands
Unix typically includes a program called "xterm," which can run BASH or other Unix shells.
Installing Git in (Linux)
Linux Installation Steps
Step 1
First of all, we need to update your Linux system by typing the following command in your terminal

Step 2
Run the below command in your terminal to install Git

Step 3
Now we need to make Git work properly by setting up Git and GitHub, and we can do that by setting up your personal information with Git to allow you to connect your local Git user (you) to GitHub.
The advantage of this step is that when you are working on a project with a team, everyone can see what you have done (you can think of it as your personal signature).
Enter this command to define your information with Git and don't forget to type your name in quotes (don't remove the quotes though).

Step 4
Great, we installed Git already. What you should do now before you link it to GitHub is, check Git work properly by running the below commands

Step 5
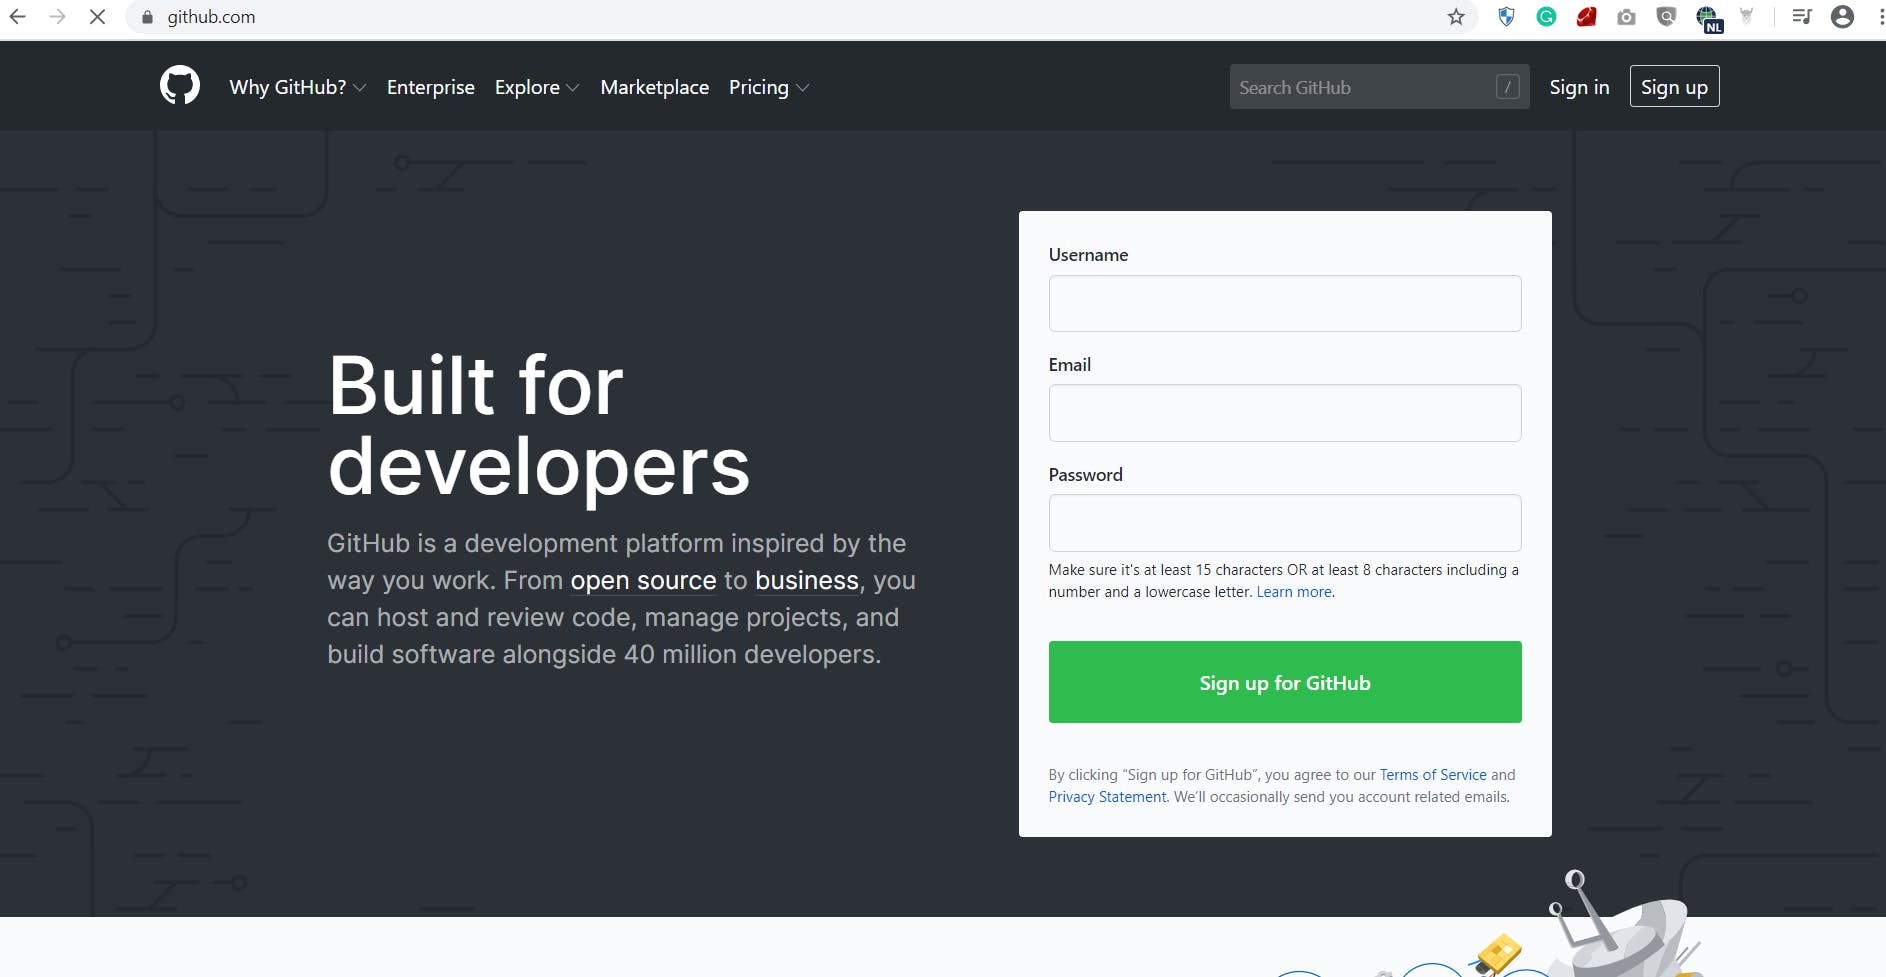
Create your personal account with GitHub
Please visit Github.com website and sign-up your Username, Email, Password. (you don't need to type the same username and e-mail you used before with git, but it's a good idea if you use the same one)
Step 6
Create your SSH Key
What is the SSH key? When working with a GitHub repository, you will often need to log into GitHub using your username and password. An SSH key is an alternative way to identify yourself that doesn't require you to enter your username and password every time.
SSH keys are provided in pairs, a public key shared with services such as GitHub and a private key stored only on your computer. If the keys match, you are granted access.
Source of step 6 explanation:
Let's first check if we have an SSH key already installed or not. Type this into your terminal

If you got a message in your output: No such file or directory, that means you don’t have an SSH key and you need to create a one, but if you got a message that you already have a key, then you are good to go to Step 7.
- Now let's create your SSH key. Run the below command and don't forget to replace what inside the brackets and write your Email without including the brackets (<>) so the command will look like this (ssh-keygen -C salma@devcompany.com).

When it prompts you for a location to save the generated key, just push Enter.
Next, it will ask you for a password; enter one if you wish, but it’s not required.
Step 7
Link Your SSH Key with GitHub
It's time we tell GitHub what is your SSH key so that you can push your code without typing your password every time.
Now go and login GitHub, go to your profile image in the top right corner. Then, click on Settings in the drop-down menu. Next, on the left-hand side, click SSH and GPG keys. Then, click the green button in the top right corner that says New SSH Key. Name your key with something descriptive and easy to remember. Leave this window open while you do the next steps.
- You need to copy your public SSH key. To do this, we’re going to use a command called cat to read the file to the console.
Note
The .pub file extension is important in this case so please run the command below without adding or missing anything

Copy the output, which starts with ssh-rsa and ends with your email address.
Do you remember the window that we left it open in GitHub page, go back to it please and paste the key you copied into the key field.
Then, click Add SSH key. You’re done! You’ve successfully added your SSH key!
Step 8
Test Your SSH connection
After you've set up your SSH key and added it to your GitHub account, you can test your connection by following the instruction at Testing your SSH connection If the output doesn’t correctly match up, then try going through these steps above again.
Thank you, see you in the lesson (4)